Configure Your Development Environment
Let’s get our house in order first and create our GitHub repositories and set up our VS Code workspace.
This post shows how to create your repos in GitHub first and then clone them to your local computer. It is totally possible to create your repo on your local computer first and then push it up to an empty GitHub repository but it is slightly harder to demonstrate and more error-prone, which is why I’m doing it this way.
Projects Folder
Although not absolutely required, it’s nice to decide where you’re going to put your code on your local computer. You can put it anywhere if you want, but let’s try to be organized here. Here’s how Ximena likes to do things:
-
 $HOME (/Users/ximena)
 -
Projects
-
repository-1
-
repository-2
-
repository-3
The $HOME folder is her user profile folder, which will be \Users\ximena in Windows, /Users/ximena in macOS, and /home/ximena in Linux. She creates a Projects folder in her home folder and puts all her repositories in there.
We’re not going to create our repository folders quite yet. That will happen automatically when we clone them from GitHub.
Create GitHub Repos
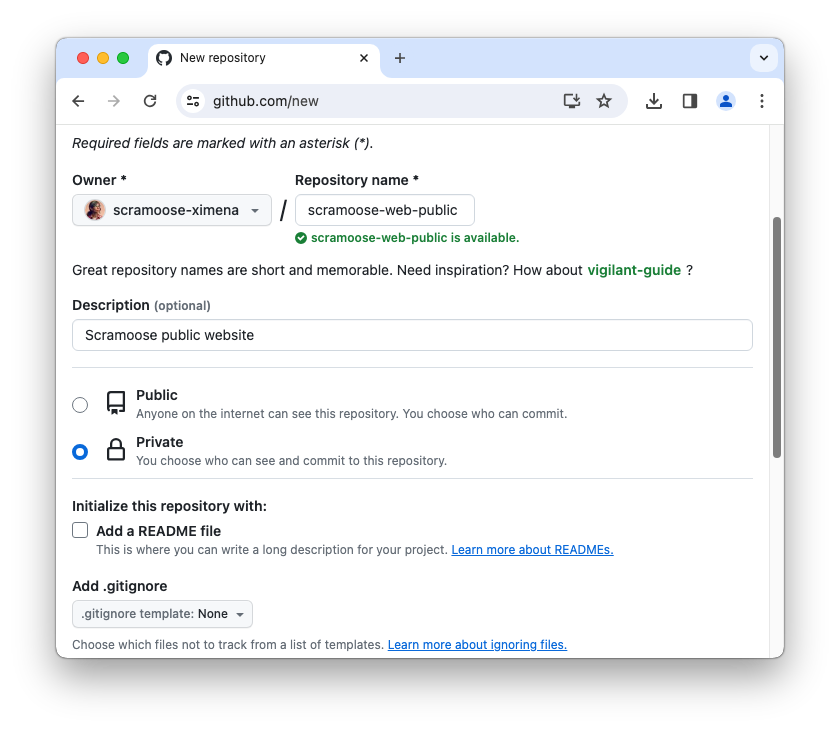
The first thing we’re going to do is create a new repository in GitHub. If you’ve been following the guided tour, you’ve already created your infrastructure repository, but if you haven’t, do that now.
We also need a repo for the static website. Follow the same steps to create a GitHub repository as you did for the infrastructure repository, but name it scramoose-web-public and leave the Add .gitignore option set to None.
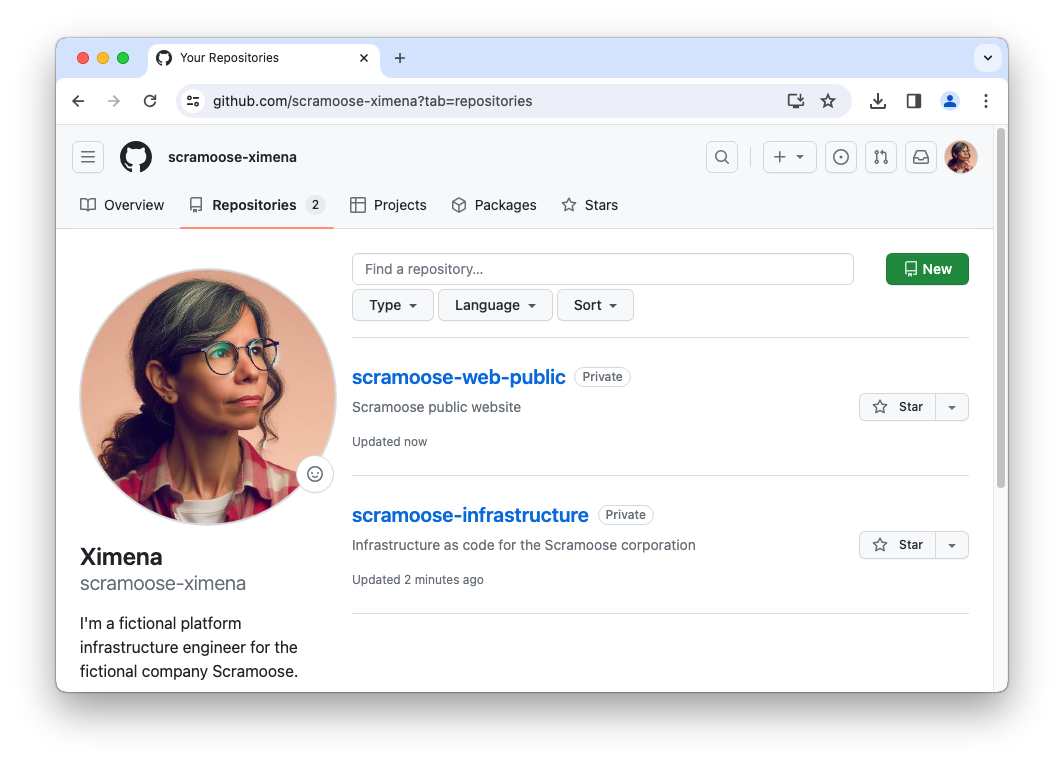
When you’re done, you should see at least the following two repositories (or something similar if you named them differently) when you click on Your repositories at github.com.
- scramoose-infrastructure
- scramoose-web-public
Clone Repositories
Now we want to pull down the content from the repositories we just created on GitHub to our local computer. This is called cloning your repository. Since we have two repositories for this project, I can show you two different ways for doing things: the hard way with the command line and the easy way with VS Code.
If you haven’t installed VS Code, do that now.
This will all be done with VS Code, even the command line. Before running these commands, launch VS Code and click File > Close Workspace from the menu bar. If you don’t see the Close Workspace option, it means you don’t have a workspace open and you’re good to proceed the steps below.
For both of these methods, you’ll need to copy the URL of your GitHub repo from the GitHub site. The URL will end with .git.

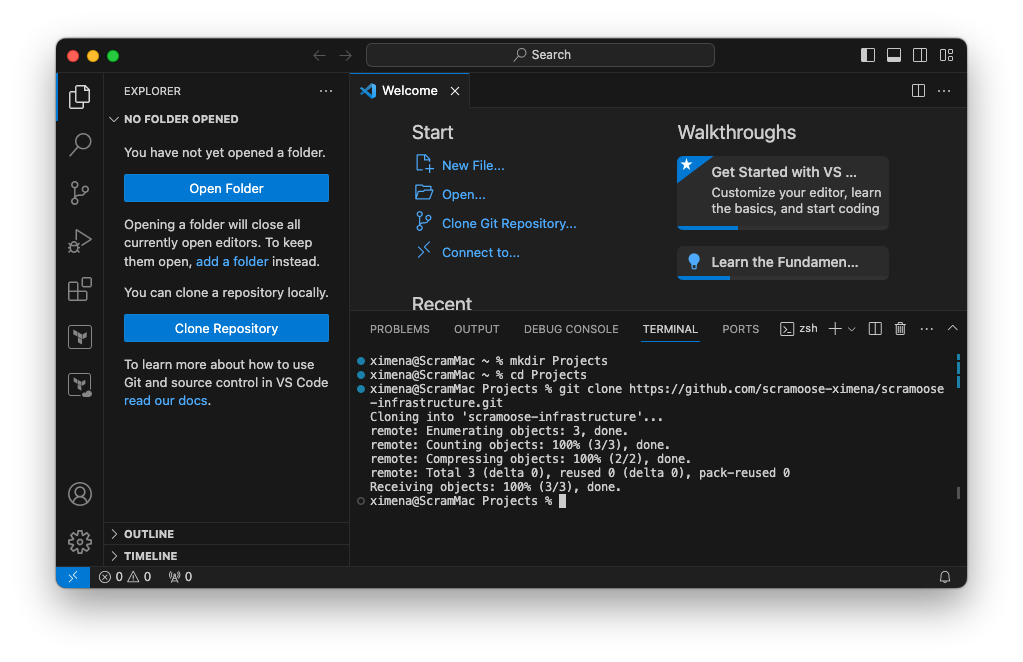
Clone with Command Line
Let’s clone our scramoose-infrastructure with the command line.
- In VS Code, click View > Terminal from the menu bar or type
Ctrl+`to bring up the terminal. - Go into your Projects folder by typing
cd ~/Projects(orcd %USERPROFILE%\Projectsif you’re using the Windows command prompt for whatever freaky reason). - Copy the URL of your repository and then type
git clone <URL of your repo>as described here.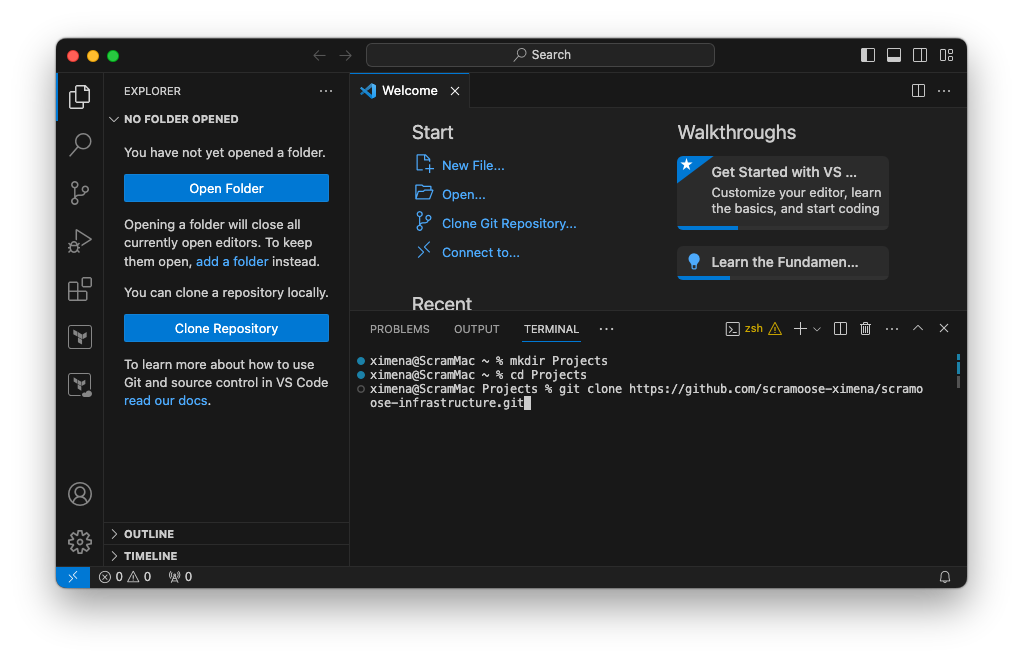
- You will be prompted by VS Code to sign into GitHub. Click Allow which will launch a web browser where you can log into GitHub. After successfully logging in, you’ll be directed back to VS Code where the clone process will continue. You will not be prompted to log in if you made your repo public or if you have already authenticated to GitHub from the
gitcommand line.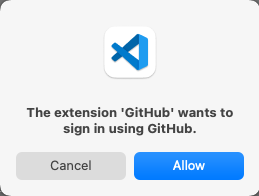
Your repository should now be cloned into a subfolder of your Projects folder, for example /Users/ximena/Projects/scramoose-infrastructure.
Clone with VS Code
- In VS Code, type
Ctrl+Shift+P(Windows and Linux) or⇧⌘P(macOS) to bring up the Command Palette. - Type
cloneand then select Git: Clone.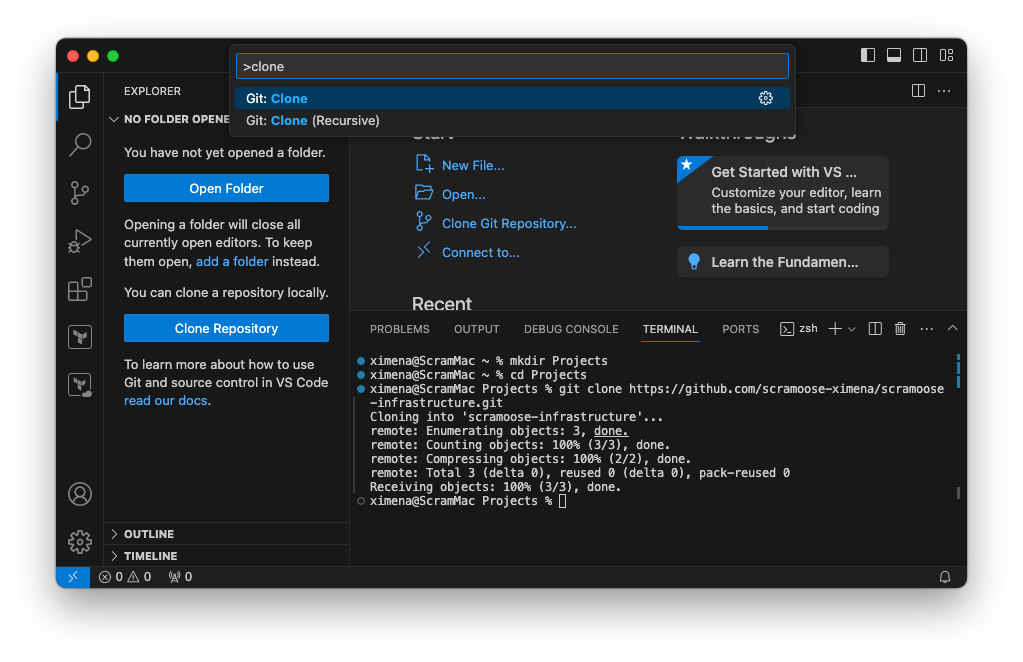
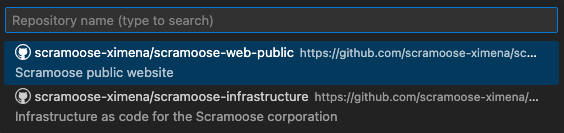
- Select Clone from GitHub.

- Type or select the your-account/scramoose-web-public repository from the list.
- Select the Projects folder or whatever folder you’ve chosen to keep your projects in.
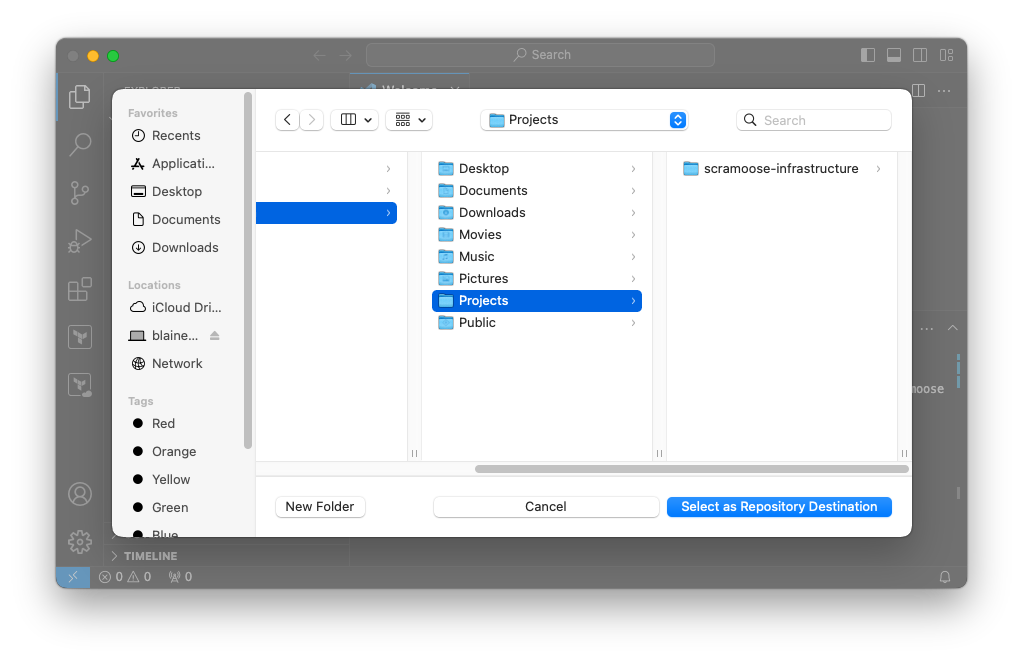
- Click Cancel when VS Code asks you if you want to open the cloned repository. In most cases you’d probably say yes, but for our demonstration we’re going to do that in the next section.

Set Up VS Code Workspaces
If everything went well in the previous section, you will have two beautiful cloned repositories in your Projects folder. Now let’s add those repositories to a VS Code workspace, which will organize these two repositories into a single pane of glass since we’ll be working on them together.
- Launch VS Code.
- Click File > Close Workspace. If you don’t see the Close Workspace option, it means you don’t have a workspace open and you can move on to the next step.
- If your VS Code instance does not look like the image below, click on the Explorer icon
 in the Activity Bar on the left side of the VS Code window to show the Explorer view.
- Click File > Add Folder to Workspace and navigate to the Projects folder. Click on the scramoose-infrastructure folder without going into the folder itself and then click the Add button.
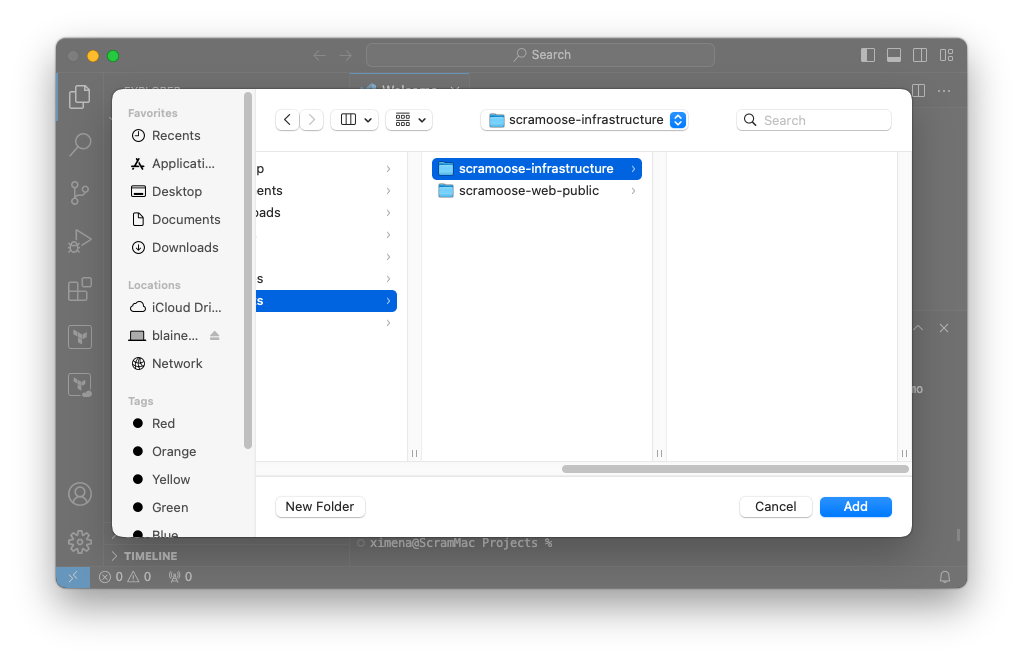
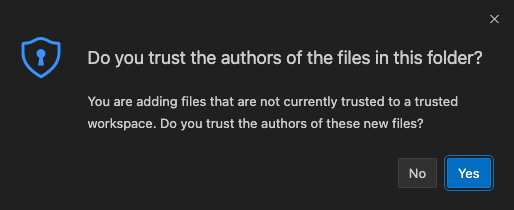
- Click Yes if it asks you if you trust this folder. Unless you don’t trust it, in which case I’m sorry I haven’t gained your trust (although I commend your vigilance!).
- Repeat steps 4 and 5, but with the scramoose-web-public folder instead.
- Click File > Save Workspace As and then save this workspace as swa in a folder of your choosing (I like to create a Workspaces folder below my home folder).

Now What?
I know that wasn’t the most fun, so let’s get on to our first Terraform configuration!
Comments