Static Web App Local Development
Before we deploy our website to Azure, we want to make sure it looks right. We can do this by developing the app locally on our laptop. As you might guess, this part won’t involve Azure at all.
If you’re purely a platform infrastructure engineer then this won’t be something you do much, if ever, but it’s still nice to know what your front-end developer friends are up to. Those little pip-squeaks.
Get Static Website Content
We were desperate so we paid $15 to the first web designer we could find to make a landing page for Scramoose. They spent four minutes on it and then emailed a .zip of it to us. You can download a .zip of the web content by clicking on the button below.
Extract this .zip file to a temporary location and then copy the files to the scramoose-web-public repository on your local computer that you cloned in the first post of this project.
Now open VS Code and check the scramoose-web-public folder. Start digging around that folder and you’ll find the src folder contains the actual website. This will be rendered in our local testing and eventually deployed to our Static Web App in Azure.
Run App Locally
Now that you have the website project added to VS Code, we can run it locally. Microsoft has a page that explains exactly how to set up your local development environment so make sure you check it out, but I’m going to streamline the instructions for our purposes.
Here are the basics steps we’ll be doing.
- Install Node.js on your computer.
- Install static-web-apps-cli (SWA), which is a Node.js-based command that will run an Azure Static Web App on your local computer.
- Configure SWA.
- Run our website locally using SWA.
Install Node.js
Node.js is a runtime environment for JavaScript. You probably think of JavaScript as something that runs on a web browser, but what Node.js does is allow you to use the JavaScript language to create applications that run on a server instead of a browser.
There are two ways to install Node.js. The most official way is to download the installer from the Node.js site. You can also use a package manager which I think is more fun (I stay in most Saturday nights).
Download Node.js Installer Install Node.js with Package Manager
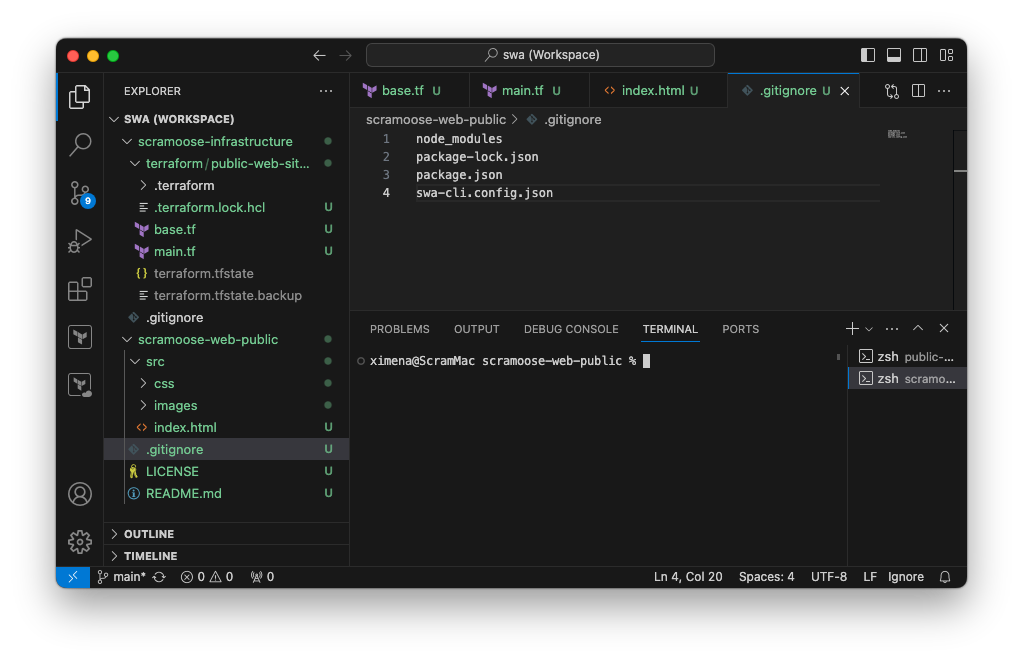
Create .gitignore File
We’re about to add a bunch of files to our repository that will be used for running the app locally. However, we don’t need these files for production, so we don’t want to add them to our repo. We just want them to stay on our local computer, so we need to create a .gitignore to exclude all these files.
Right-click on the root of the scramoose-web-public folder in VS Code and select New File, name it .gitignore (yes, the file starts with a .), add the following text, and then save the file.
node_modules
package-lock.json
package.json
swa-cli.config.json
Open Terminal in scramoose-web-public Folder
If you were following along in the last post, you had the VS Code terminal open in the scramoose-infrastructure. We need to switch over to the scramoose-web-public folder now since we’re working on the actual web content. You have a few options to do that.
- Type
cd ~/Projects/scramoose-web-publicin the terminal. - Delete the current terminal by clicking the teeny, tiny trash can icon at the top of your terminal and opening a new terminal in the scramoose-web-public folder by right-clicking on the scramoose-web-public root folder in the VS Code Explorer view and then clicking Open in Integrated Terminal.
- Starting a second terminal by…
- right-clicking on the scramoose-web-public root folder in the VS Code Explorer view and then clicking Open in Integrated Terminal.
- clicking on the teeny, tiny plus sign at the top of your current terminal and selecting scramoose-web-public from the dropdown which will create a new terminal starting in the scramoose-web-public folder.
Our engineer Ximena likes the last option because she can then switch back to the scramoose-infrastructure terminal if she needs to.
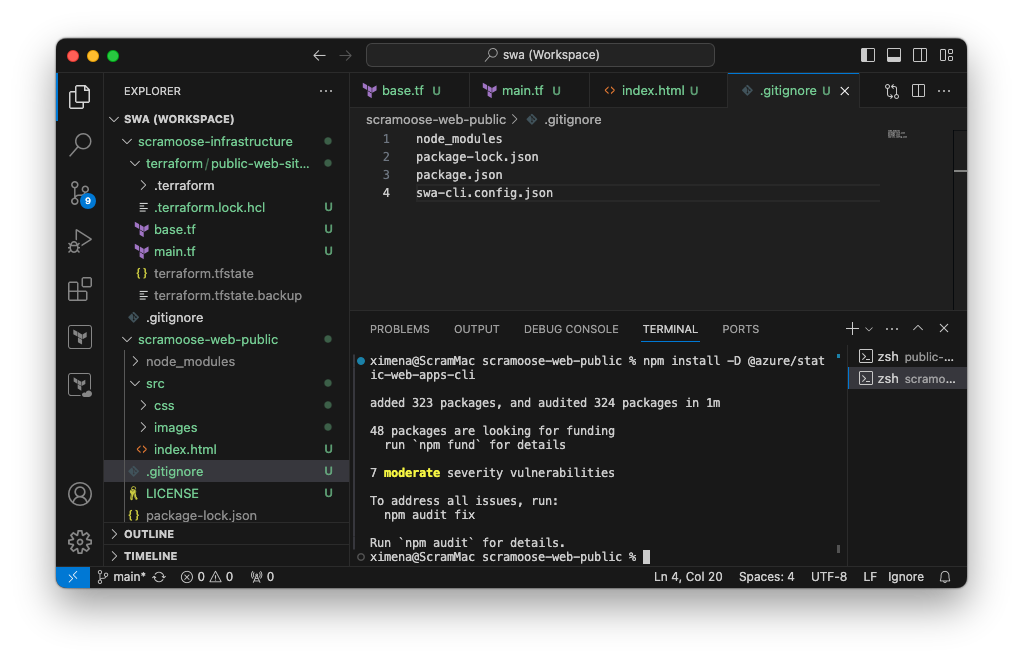
Install SWA
Double-check that your terminal is in the scramoose-web-public folder and run the following command to install the static-web-app-cli Node.js app.
npm install -D @azure/static-web-apps-cli
Since SWA is installed as a development dependency, you must run the swa command from the node_modules folder in the steps below, which is different from what is shown in Microsoft’s examples.
Configure SWA
SWA must be configured before you can run your app. Luckily, configuration is pretty easy.
Run the following command:
./node_modules/.bin/swa init
The SWA app will step you through the configuration process.
Welcome to Azure Static Web Apps CLI (1.1.6)

? Choose a configuration name: › scramoose-web-public
Press Enter to accept the default configuration name.
Welcome to Azure Static Web Apps CLI (1.1.6)

✔ Choose a configuration name: … scramoose-web-public

Detected configuration for your app:
- Framework(s): Static HTML
- App location: src
- Output location: .
- API location:
- API language:
- API version:
- Data API location:
- App build command:
- API build command:
- App dev server command:
- App dev server URL:

- API dev server URL:

? Are these settings correct? › (Y/n)
Press Enter again to accept the settings and you’re all set! If you’re wondering about that output location, this website consists entirely of static content so no build is required. Therefore, there will be no output so the output location will be ignored.
Run App
Execute the following command to start your app locally.
./node_modules/.bin/swa start
You’ll see the following output warning you that you’re running locally and your site may not look exactly like it does in Azure, and that you can access the site at http://localhost:4280.
Welcome to Azure Static Web Apps CLI (1.1.6)

Using configuration "scramoose-web-public" from file:
  /Users/ximena/Projects/scramoose-web-public/swa-cli.config.json

***********************************************************************
* WARNING: This emulator may not match the cloud environment exactly. *
* Always deploy and test your app in Azure.                           *
***********************************************************************

[swa]
[swa] Serving static content:
[swa]   /Users/ximena/Projects/scramoose-web-public/src
[swa]
[swa] Azure Static Web Apps emulator started at http://localhost:4280. Press CTRL+C to exit.
[swa]
[swa]
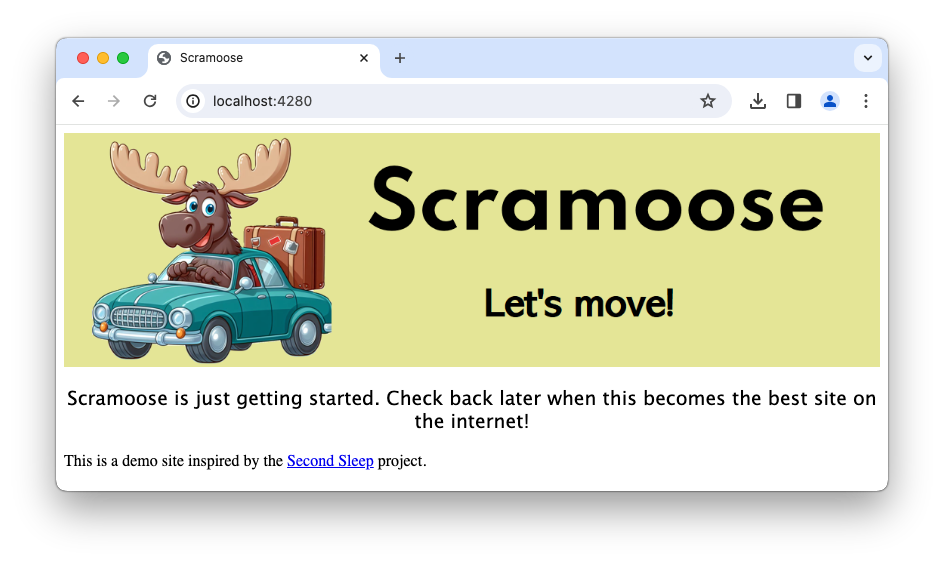
Type http://localhost:4280 in your web browser and behold our crappy site!

Fix Typos
As you recall, we hired a very inexpensive web designer who threw something together as quickly as they could, and possibly while drunk. What they gave us had a ton of typos, so we need to fix that.
If you closed VS Code or stopped the local emulator, you can start it up by running the SWA start command again: ./node_modules/.bin/swa start
Make the following changes to line 11 of index.html and save the file.
1
            <p>Scramoose is just getting started. Check back later when this becomes the best site on the internet!</p>
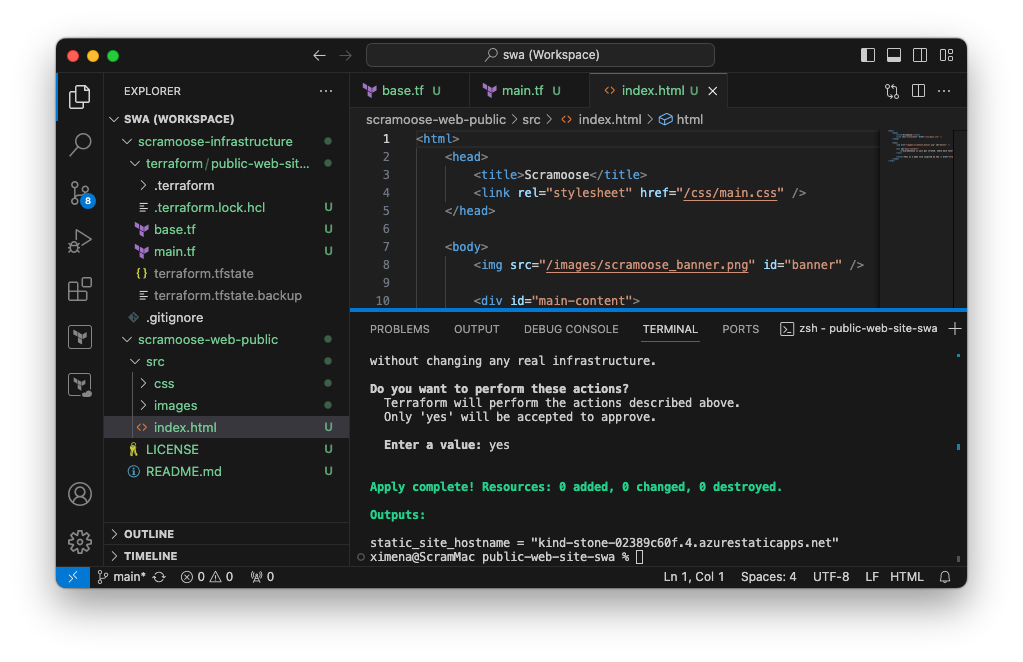
The whole index.html file should look like this:
1
2
3
4
5
6
7
8
9
10
11
12
13
14
15
16
<html>
    <head>
        <title>Scramoose</title>
        <link rel="stylesheet" href="/css/main.css" />
    </head>

    <body>
        <img src="/images/scramoose_banner.png" id="banner" />

        <div id="main-content">
            <p>Scramoose is just getting started. Check back later when this becomes the best site on the internet!</p>
        </div>

        <footer>This is a demo site inspired by the <a href="https://www.secondsleep.io">Second Sleep</a> project.</footer>
    </body>
</html>
Now refresh the page (or navigate to http://localhost:4280 if you closed the browser) and see your changes!
Notice how you don’t need to rebuild anything or restart the SWA CLI. Since this is static HTML, the changes are immediately reflected.
Next Steps
As discussed, we’ll be deploying this to code to our Static Web App from GitHub, so in the next post we’ll push our code to GitHub.
Comments