Push Static Web App Project to GitHub
If you’ve been following along with the procedures in this service so far, you’ve done the following:
- Created your GitHub repositories and cloned them to your local computer
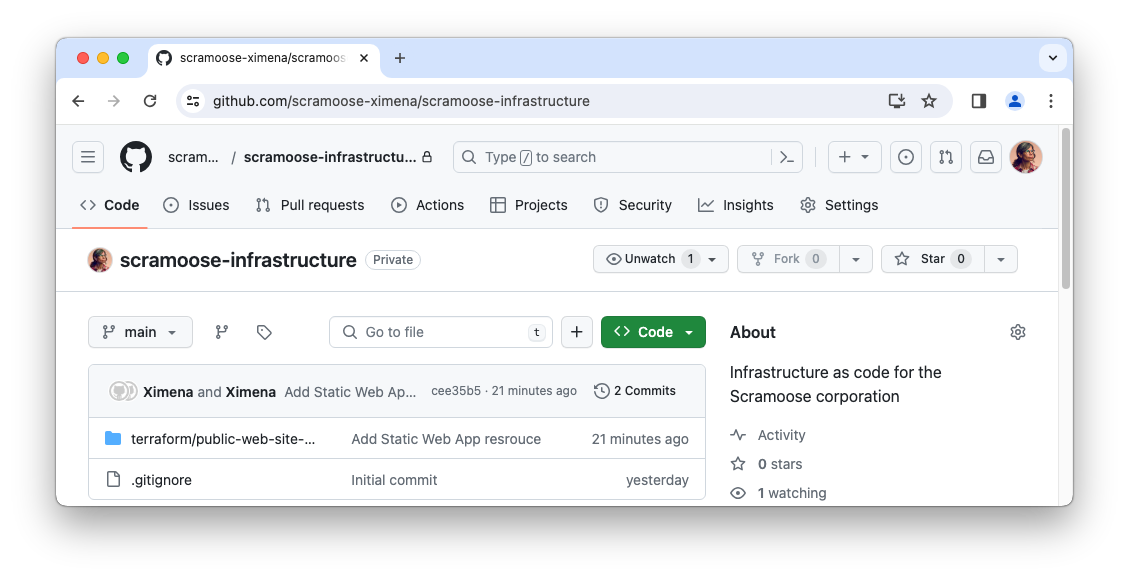
- Created a new Static Web App resource with Terraform
- Run the static website on your local computer.
Now that we’ve made some changes, we should push those changes up to GitHub in case our laptop craps out. We’re also going to start screwing around with our app and if we mess it all up, we’ll want to revert back. Just like when we configured our repositories, there are two ways to push our changes back up to GitHub: the git command or using the VS Code interface. We’ll push our changes with the command line for the scramoose-infrastructure repo and do it the VS Code way for our scramoose-web-public repo.
There’s a couple of steps before we can push changes into GitHub. Git doesn’t know which of our changes we want to add to the repo so we need to stage those files first. After a file has been staged, it can be committed where we officially add it to the repository with a message about what the file is about (or what changes were made if the file already exists).
Command Line
Before you start this, you should see that the Source Control icon in VS Code will show that some files have not been committed. Even though we’re using the command line, click on the Source Control ![]() icon so you can see how our changes will be detected by VS Code.
icon so you can see how our changes will be detected by VS Code.
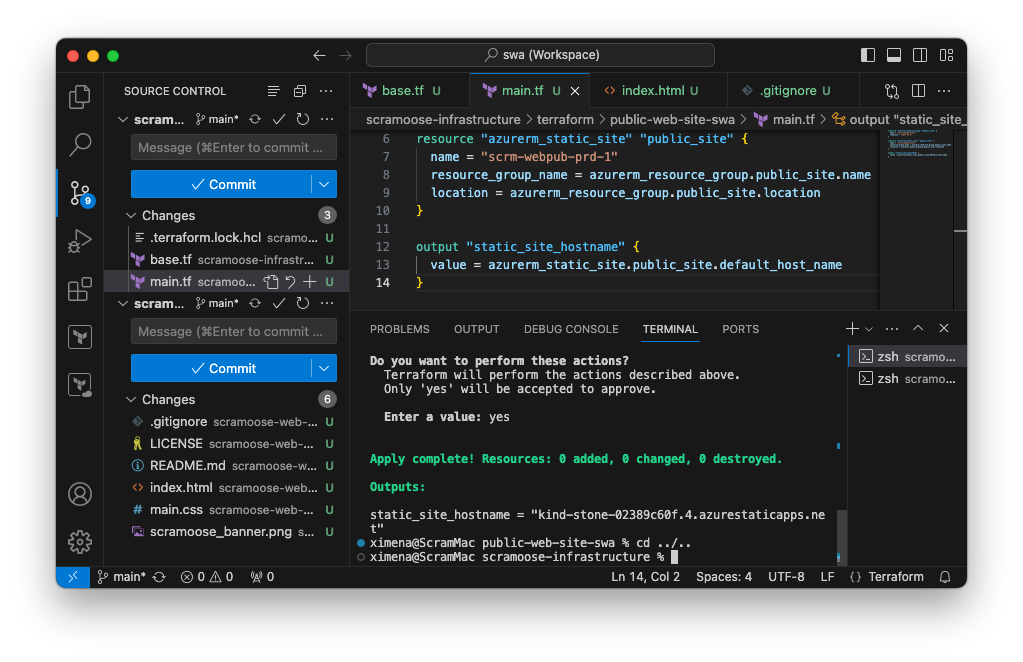
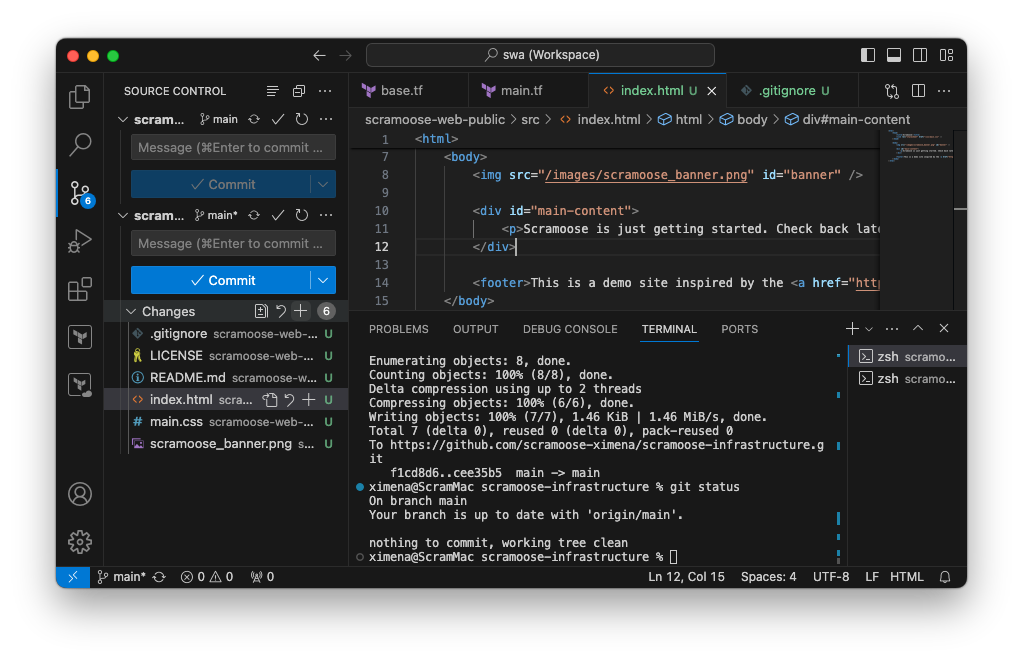
Start VS Code and open a terminal into the scramoose-infrastructure folder.
If you are in the scramoose-infrastructure/terraform/public-web-site-swa folder, this will still work with that folder with slightly different output. I like to run my git commands at the root of the repository in case I’m forgetting any files, but you can run the commands from a subfolder if you want.
Type the following command to see what Git says the current status is.
git status
You should see something like this:
On branch main
Your branch is up to date with 'origin/main'.

Untracked files:
  (use "git add <file>..." to include in what will be committed)
        terraform/

nothing added to commit but untracked files present (use "git add" to track)
Git is saying that we have some new files that it sees but that haven’t been staged. Run the following command to stage the all these files.
git add -A
You won’t see any output, but you’ll notice that the Source Control extension in VS Code now shows these files as staged. Let’s check the status again and see what Git says.
git status
Git will tell us that it’s now “aware” of these files and they can be committed.
On branch main
Your branch is up to date with 'origin/main'.

Changes to be committed:
  (use "git restore --staged <file>..." to unstage)
        new file:   terraform/public-web-site-swa/.terraform.lock.hcl
        new file:   terraform/public-web-site-swa/base.tf
        new file:   terraform/public-web-site-swa/main.tf
Now let’s commit these files to our repository with a message.
git commit -m "Add Static Web App resource"
There’s a chance you get this output:
Author identity unknown

*** Please tell me who you are.

Run

  git config --global user.email "you@example.com"
  git config --global user.name "Your Name"

to set your account's default identity.
Omit --global to set the identity only in this repository.
If you get this and it’s your first time using Git, this is expected. Git wants to know who you are so that your team knows who did what. If you did get this, run the commands just like it said.
git config --global user.email "ximena@scramoose.dev"
git config --global user.name "Ximena"
Now that we’re past that, run the same commit message again.
git commit -m "Add Static Web App resource"
You may have also received a message like this:
Your name and email address were configured automatically based
on your username and hostname. Please check that they are accurate.
You can suppress this message by setting them explicitly. Run the
following command and follow the instructions in your editor to edit
your configuration file:

    git config --global --edit

After doing this, you may fix the identity used for this commit with:

    git commit --amend --reset-author
If you got that, the commit probably worked but you should still run the same commands above to set your username and email.
Git tells us that we successfully committed our changes.
[main 7477bd6] Add Static Web App resource
 3 files changed, 46 insertions(+)
 create mode 100644 terraform/public-web-site-swa/.terraform.lock.hcl
 create mode 100644 terraform/public-web-site-swa/base.tf
 create mode 100644 terraform/public-web-site-swa/main.tf
Now the Source Control extension in VS Code should show that everything is good and that your commits need to be pushed to GitHub. This will be confirmed when we check the status.
git status
On branch main
Your branch is ahead of 'origin/main' by 1 commit.
  (use "git push" to publish your local commits)

nothing to commit, working tree clean
Yup, git status is telling us that our local repository has newer commits than the repository on GitHub and is suggesting we run git push. Great idea! Let’s push our changes up to GitHub.
git push
Enumerating objects: 8, done.
Counting objects: 100% (8/8), done.
Delta compression using up to 2 threads
Compressing objects: 100% (6/6), done.
Writing objects: 100% (7/7), 1.41 KiB | 1.41 MiB/s, done.
Total 7 (delta 1), reused 0 (delta 0), pack-reused 0
remote: Resolving deltas: 100% (1/1), completed with 1 local object.
To https://github.com/2ndsleep/scramoose-infrastructure.git
   f3d9098..7477bd6  main -> main
We did it! The Source Control extension in VS Code should also show that there’s nothing to push. Let’s run one more git status to see what it says.
git status
On branch main
Your branch is up to date with 'origin/main'.

nothing to commit, working tree clean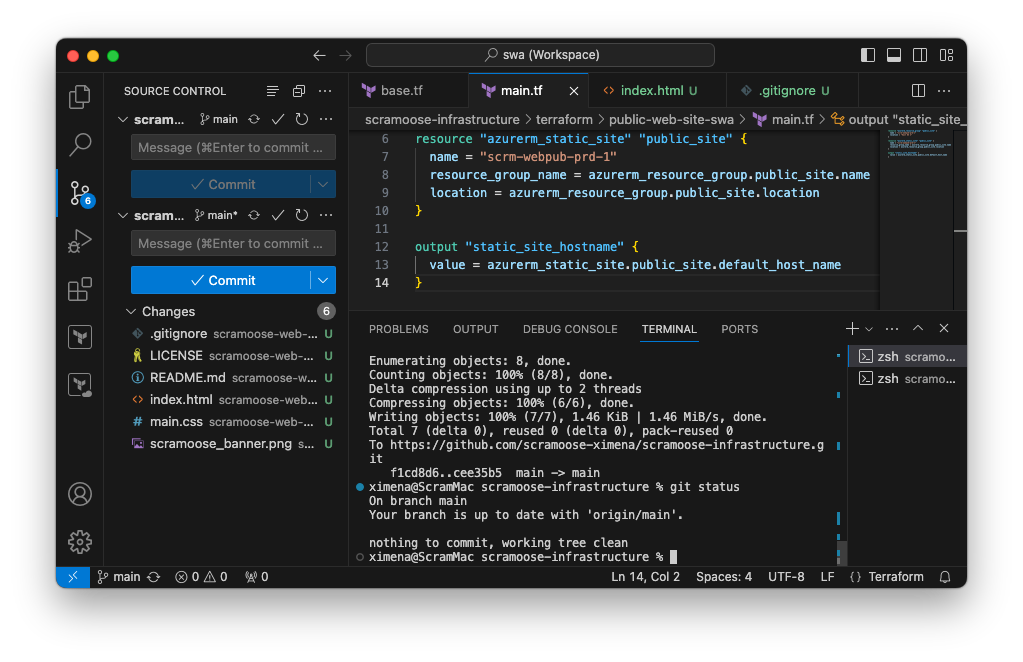
VS Code
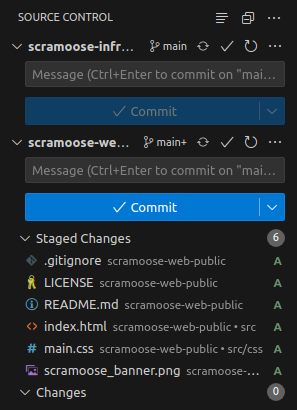
Now let’s do it the easy way with our scramoose-web-public repository. Open VS Code and click on the Source Control ![]() icon. You should see 6 files under the Changes header that need to be added to our repo (or 4 files if you didn’t copy the LICENSE and README.md files, which is a-okay). Each file should have a green letter U next to it, which stands for untracked in Git parlance.
icon. You should see 6 files under the Changes header that need to be added to our repo (or 4 files if you didn’t copy the LICENSE and README.md files, which is a-okay). Each file should have a green letter U next to it, which stands for untracked in Git parlance.
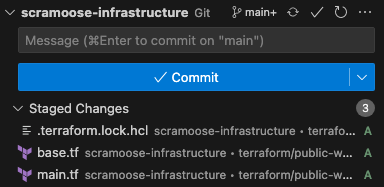
If you move your mouse slightly to the left of one of those U letters, you’ll see a + sign. You can click on that for each file or to make it easier, click on the + sign in the Changes header to add all the untracked files. The status should change from Changes to Staged Changes. This is the same as typing git add -A.
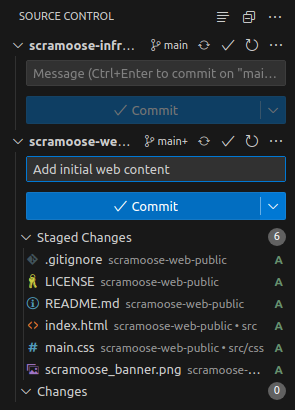
Now we want to commit our changes, so type the following message into the message bar above the files: Add initial web content. Click the Commit button. This is the same as typing git commit -m "Add initial web content".
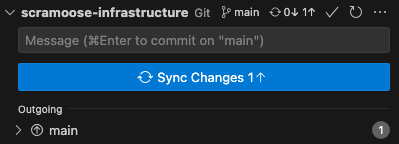
Okay, you’ve committed everything locally. This is normally where you would see a button that says Sync Changes 1 ⬆. However, since I told you not to include a .gitignore or README.md file when you created the repo, GitHub had no initial files and didn’t bother creating a branch. However, as soon as you committed files locally, Git created a local branch named main. Now you have a local branch named main but no corresponding branch in GitHub so Git is confused. Luckily, there is an easy fix which is to run this command.
# Make sure you're in the scramoose-web-public repo first!
git branch --unset-upstream
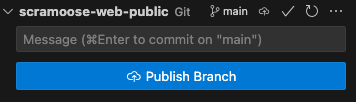
Now you should see the Public Branch button. Click that button to create the main branch in GitHub and push the changes.
Yeah, that’s a lot easier. Despite that, I find myself frequently using the command lines just to stay sharp. I like to know what I’m doing and if you do it a lot it’s almost as fast as using the visual interface.

What About the Friggin’ Website?
Yeah, I know. We keep not creating a website. Don’t worry, that’s next.
Comments